
Setup & usage guide
GitLab Listener is available for any Jira Cloud installation. Sign in to your Jira account, open the GitLab Listener page on the Atlassian Marketplace, and click Install.
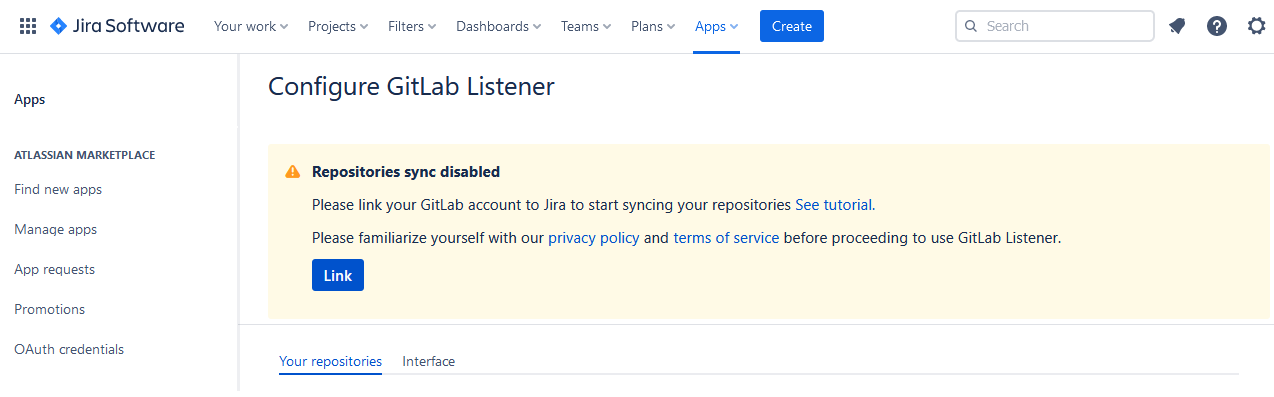
Once GitLab Listener is installed, find it in the list of your installed apps in Jira and press Configure.
To link your GitLab repositories, provide a Personal Access Token that you can find or create in your GitLab account. The minimum permission scope needed for the token is read_api.
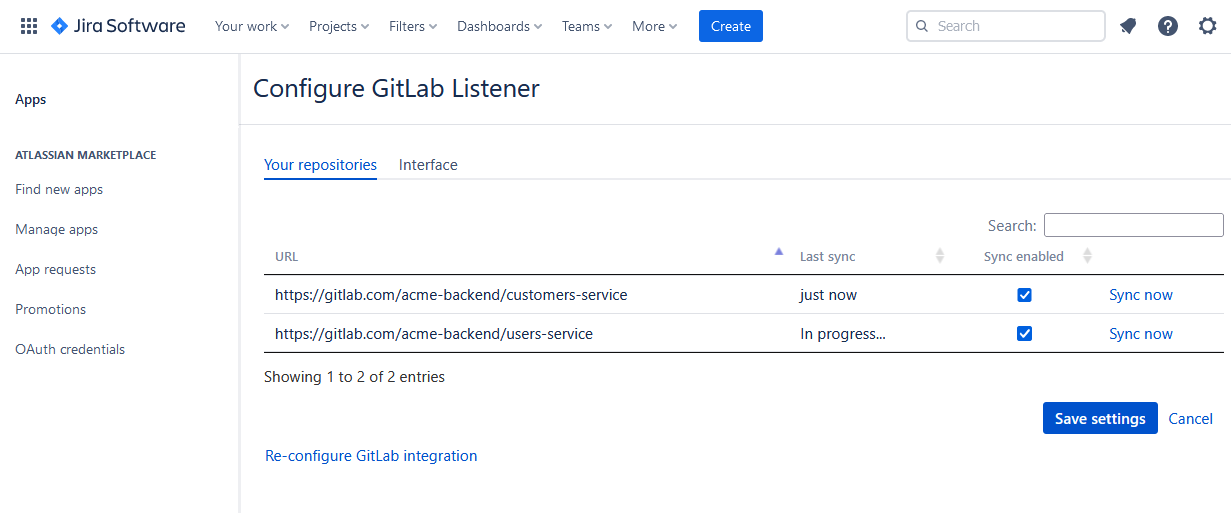
GitLab Listener automatically detects the repositories your GitLab account can access and lists them on the configuration page. Choose which repositories to link, and see when each was last checked for new data. To update your credentials, return to the configuration page and click Re-configure GitLab integration.
Use scoped, least-privilege tokens. GitLab Listener reads metadata only and never clones your code. See the security overview.
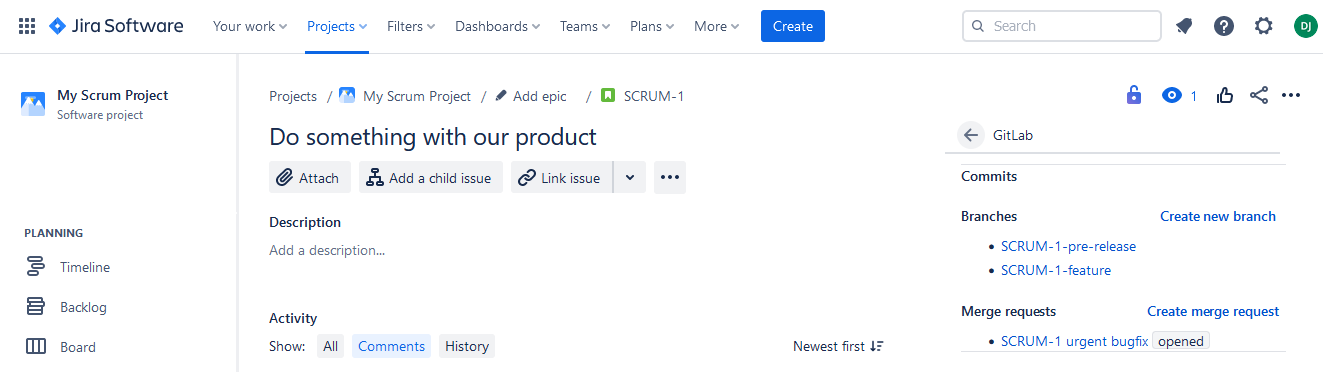
Once configured, open any issue in your Jira project and you'll see the GitLab panel on the right. It shows all commits, branches and merge requests linked to the issue.
Linking is done via issue keys (e.g. PROJ-123) — include the issue key in commit messages, branch names and merge-request titles so they're picked up.
Have a question or need a hand? Reach out via our feedback form and we'll be happy to help.
Pick the platform you work in — every plan includes a free trial on the marketplace.


 Azure
Azure AWS
AWS